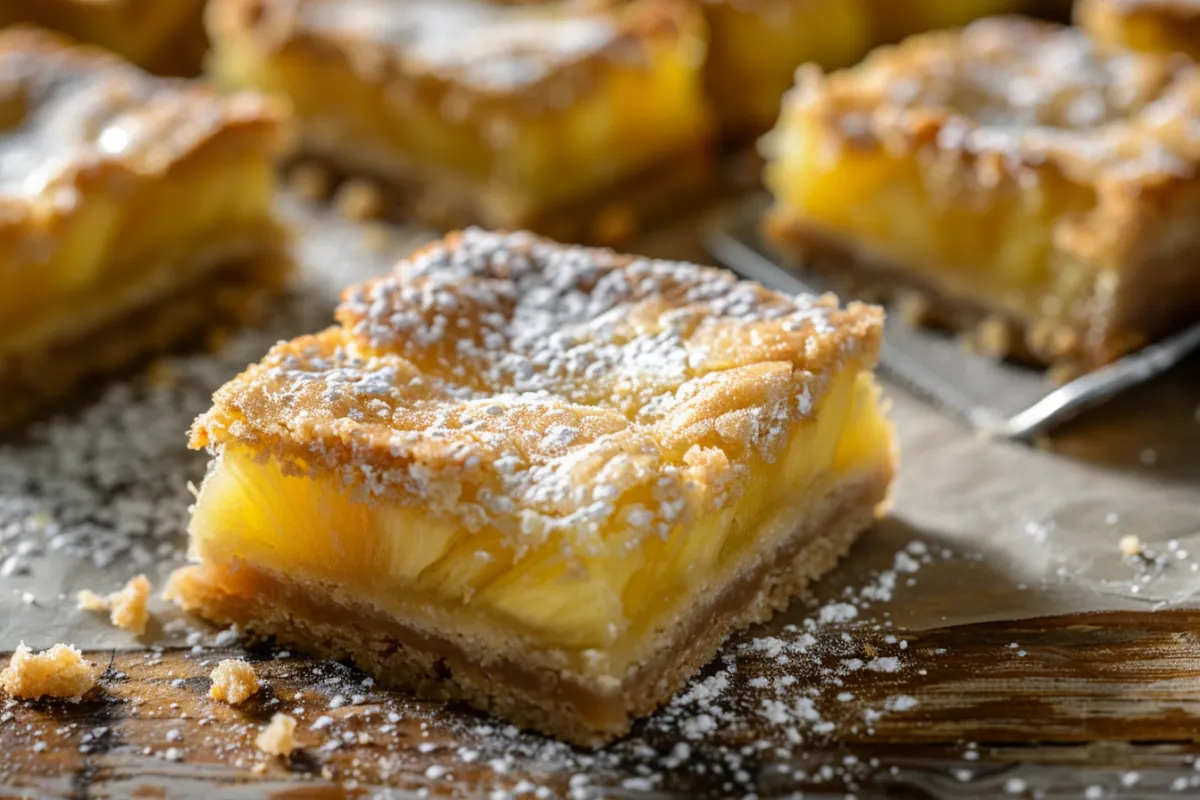
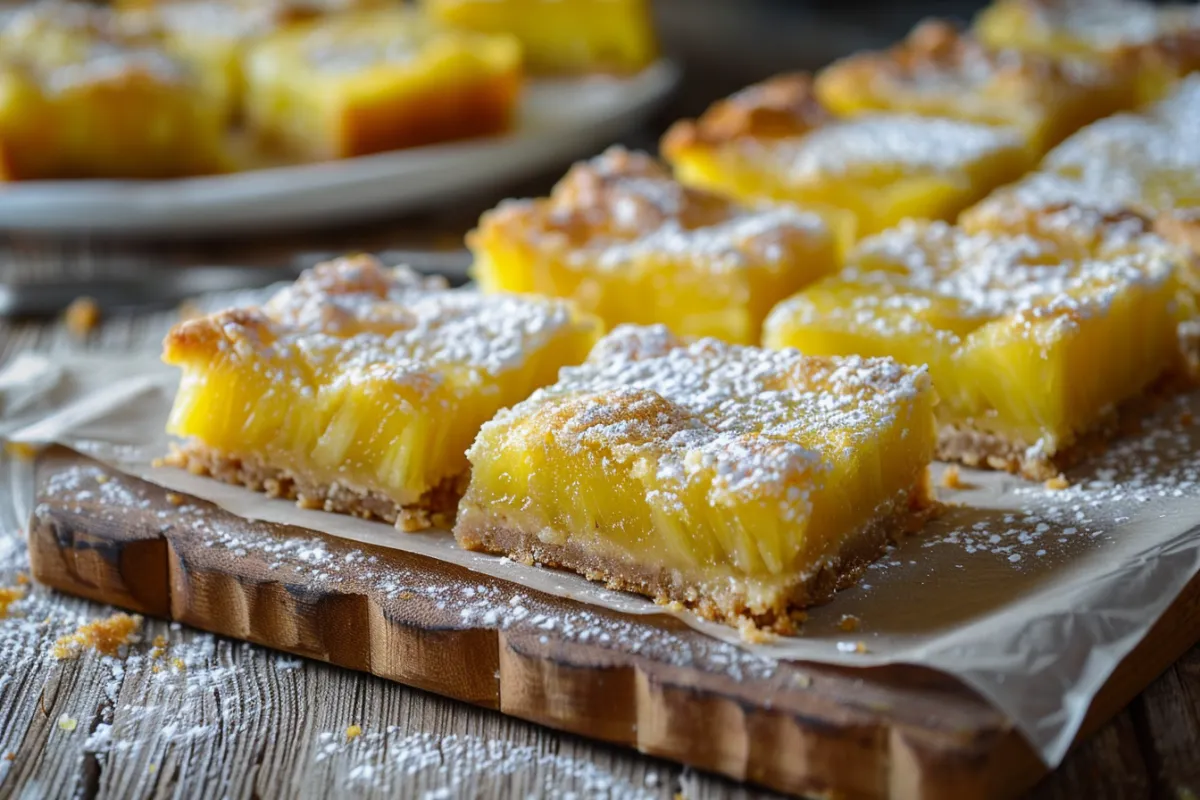
Tropical desserts like pineapple bliss bars transport us straight to paradise. With their refreshing, fruity flavors and simple preparation, these bars are a must-try for anyone who loves a sweet treat. Whether you’re hosting a summer picnic or craving a winter dessert that brings a bit of sunshine, these bars are perfect for any occasion. In this article, we’ll explore the pineapple bliss bars recipe, breaking down the ingredients, step-by-step instructions, tips for perfect results, and some delicious variations you can try.
What Are Pineapple Bliss Bars?
Pineapple bliss bars are a delightful dessert that combines a buttery shortbread crust with a tangy, sweet pineapple filling. The contrast between the crispy crust and the soft, fruity topping makes them incredibly satisfying. The word “bliss” in the name speaks to the wonderful balance of sweet and tart flavors, which are sure to brighten any dessert table.
History and Origins of Pineapple in Desserts
Pineapple has been a beloved ingredient in tropical regions for centuries. As trade routes expanded, this sweet and tangy fruit became a staple in many global cuisines. By the mid-20th century, canned pineapple became widely available, making it a popular ingredient in home baking. The ease of use and long shelf life of canned pineapple contributed to its inclusion in desserts like pineapple upside-down cake, pineapple bliss bars, and more.
Ingredients Breakdown
Let’s take a closer look at the key ingredients for this delicious pineapple bliss bars recipe and their functions:
Key Ingredients:
- Flour: Provides structure to the shortbread crust, making it sturdy enough to hold the filling.
- Butter: Adds richness and gives the crust its tender, buttery texture.
- Crushed Pineapple: The star of the show, delivering that signature tropical flavor with the perfect balance of sweet and tangy.
- Sugar: Sweetens both the crust and the filling.
- Eggs: Helps to bind the filling and gives it a custard-like texture.
- Vanilla Extract: Enhances the overall flavor profile with a subtle warmth.
- Powdered Sugar: Optional for dusting the bars after they’ve cooled.
Optional Additions:
- Shredded Coconut: For an extra tropical twist, you can add this to the filling or use it as a garnish.
- Lime Zest: Adds a bright, zesty contrast to the sweetness of the pineapple.
Ingredient Functions:
Each ingredient plays a vital role in the texture and flavor of pineapple bliss bars. The flour and butter create the base for the bars, providing a sturdy, flavorful foundation. The pineapple and sugar work together to create a deliciously sweet and tangy filling, while the eggs help everything set.
Step-by-Step Pineapple Bliss Bars Recipe
Ready to make your own pineapple bliss bars? Follow this simple step-by-step guide to create this tropical treat!
Crust Preparation
- Mix the Crust Ingredients: In a large bowl, combine 1 ½ cups of flour, ½ cup of sugar, and a pinch of salt. Add ¾ cup of cold, cubed butter and use a pastry cutter (or your hands) to work the butter into the dry ingredients until the mixture resembles coarse crumbs.
- Press and Pre-Bake: Press the crust mixture evenly into a greased or parchment-lined 9×13-inch baking pan. Pre-bake the crust at 350°F for 10-15 minutes, or until it turns light golden. This pre-bake step prevents the crust from getting soggy when the filling is added.
Pineapple Filling Preparation
- Mix the Filling: In another bowl, beat two eggs and one cup of sugar until well combined. Drain one cup of crushed pineapple thoroughly to avoid excess moisture. Stir the pineapple into the egg mixture, then add ¼ cup of flour and ½ teaspoon of baking powder. Mix until everything is well incorporated.
- Thickening the Filling: Adding a bit of flour to the filling helps to thicken it during baking, giving the bars a perfect consistency.
Baking Process
- Pour the Filling: Pour the pineapple filling over the pre-baked crust, spreading it evenly.
- Bake: Return the pan to the oven and bake for an additional 25-30 minutes at 350°F, or until the edges are golden and the filling is set.
- Cooling: Let the bars cool completely in the pan before cutting. This step ensures that the filling sets properly and holds its shape when sliced.
Final Touches
- Dust with Powdered Sugar: For a delicate, sweet finish, dust the top of the cooled pineapple bliss bars with powdered sugar.
- Garnishing Ideas: If desired, you can also garnish the bars with shredded coconut or a drizzle of melted white chocolate for extra flair.
Expert Tips for Perfect Pineapple Bliss Bars
- Achieving the Right Texture: For the perfect balance of crispy crust and soft filling, make sure to pre-bake the crust to avoid sogginess. Draining the pineapple thoroughly is essential to prevent a watery filling.
- Draining Crushed Pineapple: To drain the crushed pineapple properly, place it in a fine-mesh sieve and press it gently with the back of a spoon. You can also pat it dry with a paper towel.
- Storage Tips: Store the pineapple bliss bars in an airtight container at room temperature for up to two days or in the fridge for up to a week. If you want to store them longer, freeze the bars in a single layer, then transfer them to a sealed bag for up to three months.
Popular Recipe Variations
Looking to add your own twist to the pineapple bliss bars recipe? Here are a few popular variations to try:

Coconut-Infused Pineapple Bliss Bars
For an extra tropical flavor, add shredded coconut to both the crust and filling. After baking, sprinkle toasted coconut on top for added texture and a visual touch.
Adding a Citrus Twist with Lime Zest
To brighten up the flavors, try incorporating lime zest into the filling. The citrusy tang complements the sweetness of the pineapple, making for a refreshing dessert.
Gluten-Free Pineapple Bliss Bars
Substitute regular flour with a gluten-free blend or almond flour to make these bars gluten-free. You may need to adjust the baking time slightly to ensure the crust holds its structure and the filling sets properly.
Serving Suggestions and Pairings
Pineapple bliss bars are versatile and can be served on many occasions. Here’s how to elevate their presentation:
Best Occasions to Serve Pineapple Bliss Bars
- Summer Picnics: These bars are the perfect light and refreshing treat for hot summer days.
- Holiday Gatherings: Bring a bit of tropical warmth to your winter dessert table with pineapple bliss bars.
- Family Potlucks: Easy to make and easy to transport, these bars are great for sharing.
Pairings
- Drinks: Pair these tropical bars with a piña colada, mojito, or a refreshing iced tea to enhance the tropical vibes.
- Other Desserts: Serve alongside coconut custard or pineapple sorbet for a complete tropical dessert spread.
Presentation Ideas
For parties or potlucks, cut the bars into small squares and display them on a colorful platter. Garnish with toasted coconut flakes or lime zest for an extra pop of color. You can also serve the bars in cupcake liners for easy, individual servings.
Nutritional Information and Healthier Alternatives
Pineapple bliss bars are a delicious dessert, but if you’re looking to make them a bit healthier, here are some suggestions:
Nutritional Overview
A typical 2×2-inch square of pineapple bliss bars contains around 200-250 calories. The bars are rich in carbohydrates, fats, and sugars due to the butter, sugar, and pineapple.
Healthier Alternatives
- Reduce the Sugar: Try reducing the sugar in the filling by 25-50%. The sweetness from the pineapple will still shine through.
- Butter Alternatives: Replace some of the butter in the crust with unsweetened applesauce for fewer calories and less fat.
- Sugar Substitutes: Use a sugar substitute like stevia to cut down on sugar while maintaining sweetness.
FAQs: Tropical Pineapple Bliss Bars Recipe
Can I use fresh pineapple instead of canned?
Yes, but fresh pineapple should be finely chopped and drained well to avoid excess moisture. Canned pineapple is often softer, which works better for this recipe.
How long do Pineapple Bliss Bars last?
Stored in an airtight container, pineapple bliss bars will last up to two days at room temperature or about a week in the refrigerator.
How do I prevent a soggy crust?
The key to avoiding a soggy crust is to pre-bake it and drain the pineapple thoroughly to reduce moisture in the filling.
Can I freeze Pineapple Bliss Bars?
Yes! Once the bars have fully cooled, you can freeze them in an airtight container for up to three months. Thaw them in the fridge before serving.
What can I use as a substitute for butter?
Margarine, coconut oil, or plant-based butter alternatives work well for a dairy-free version. Keep in mind
Conclusion
Pineapple bliss bars offer the perfect balance of tropical sweetness and buttery richness, making them a standout dessert for any occasion. Their easy preparation and versatile ingredients mean they can be enjoyed year-round, whether you’re looking for a light summer treat or a bright contrast to heavier winter desserts. With endless variations like adding coconut or a citrus twist, these bars can be tailored to your preferences, ensuring they never get old. By following this simple recipe and our expert tips, you can easily create these crowd-pleasing bars that will transport your taste buds to a tropical paradise. So, why not whip up a batch and let the flavors of pineapple and bliss bring a bit of sunshine into your kitchen?

